There’s something utterly captivating about the sound of running water. For years, I’d dreamed of incorporating a stream into my UK garden, transforming a somewhat ordinary space into a tranquil oasis. Finally, I took the plunge, and the result has been more rewarding than I could have imagined. Let me share my experience of building a babbling brook – perhaps it will inspire you to create your own slice of paradise! This is my story of creating my own little Eden, and hopefully, it inspires you to create yours.
The Grand Design: Planning and Preparation
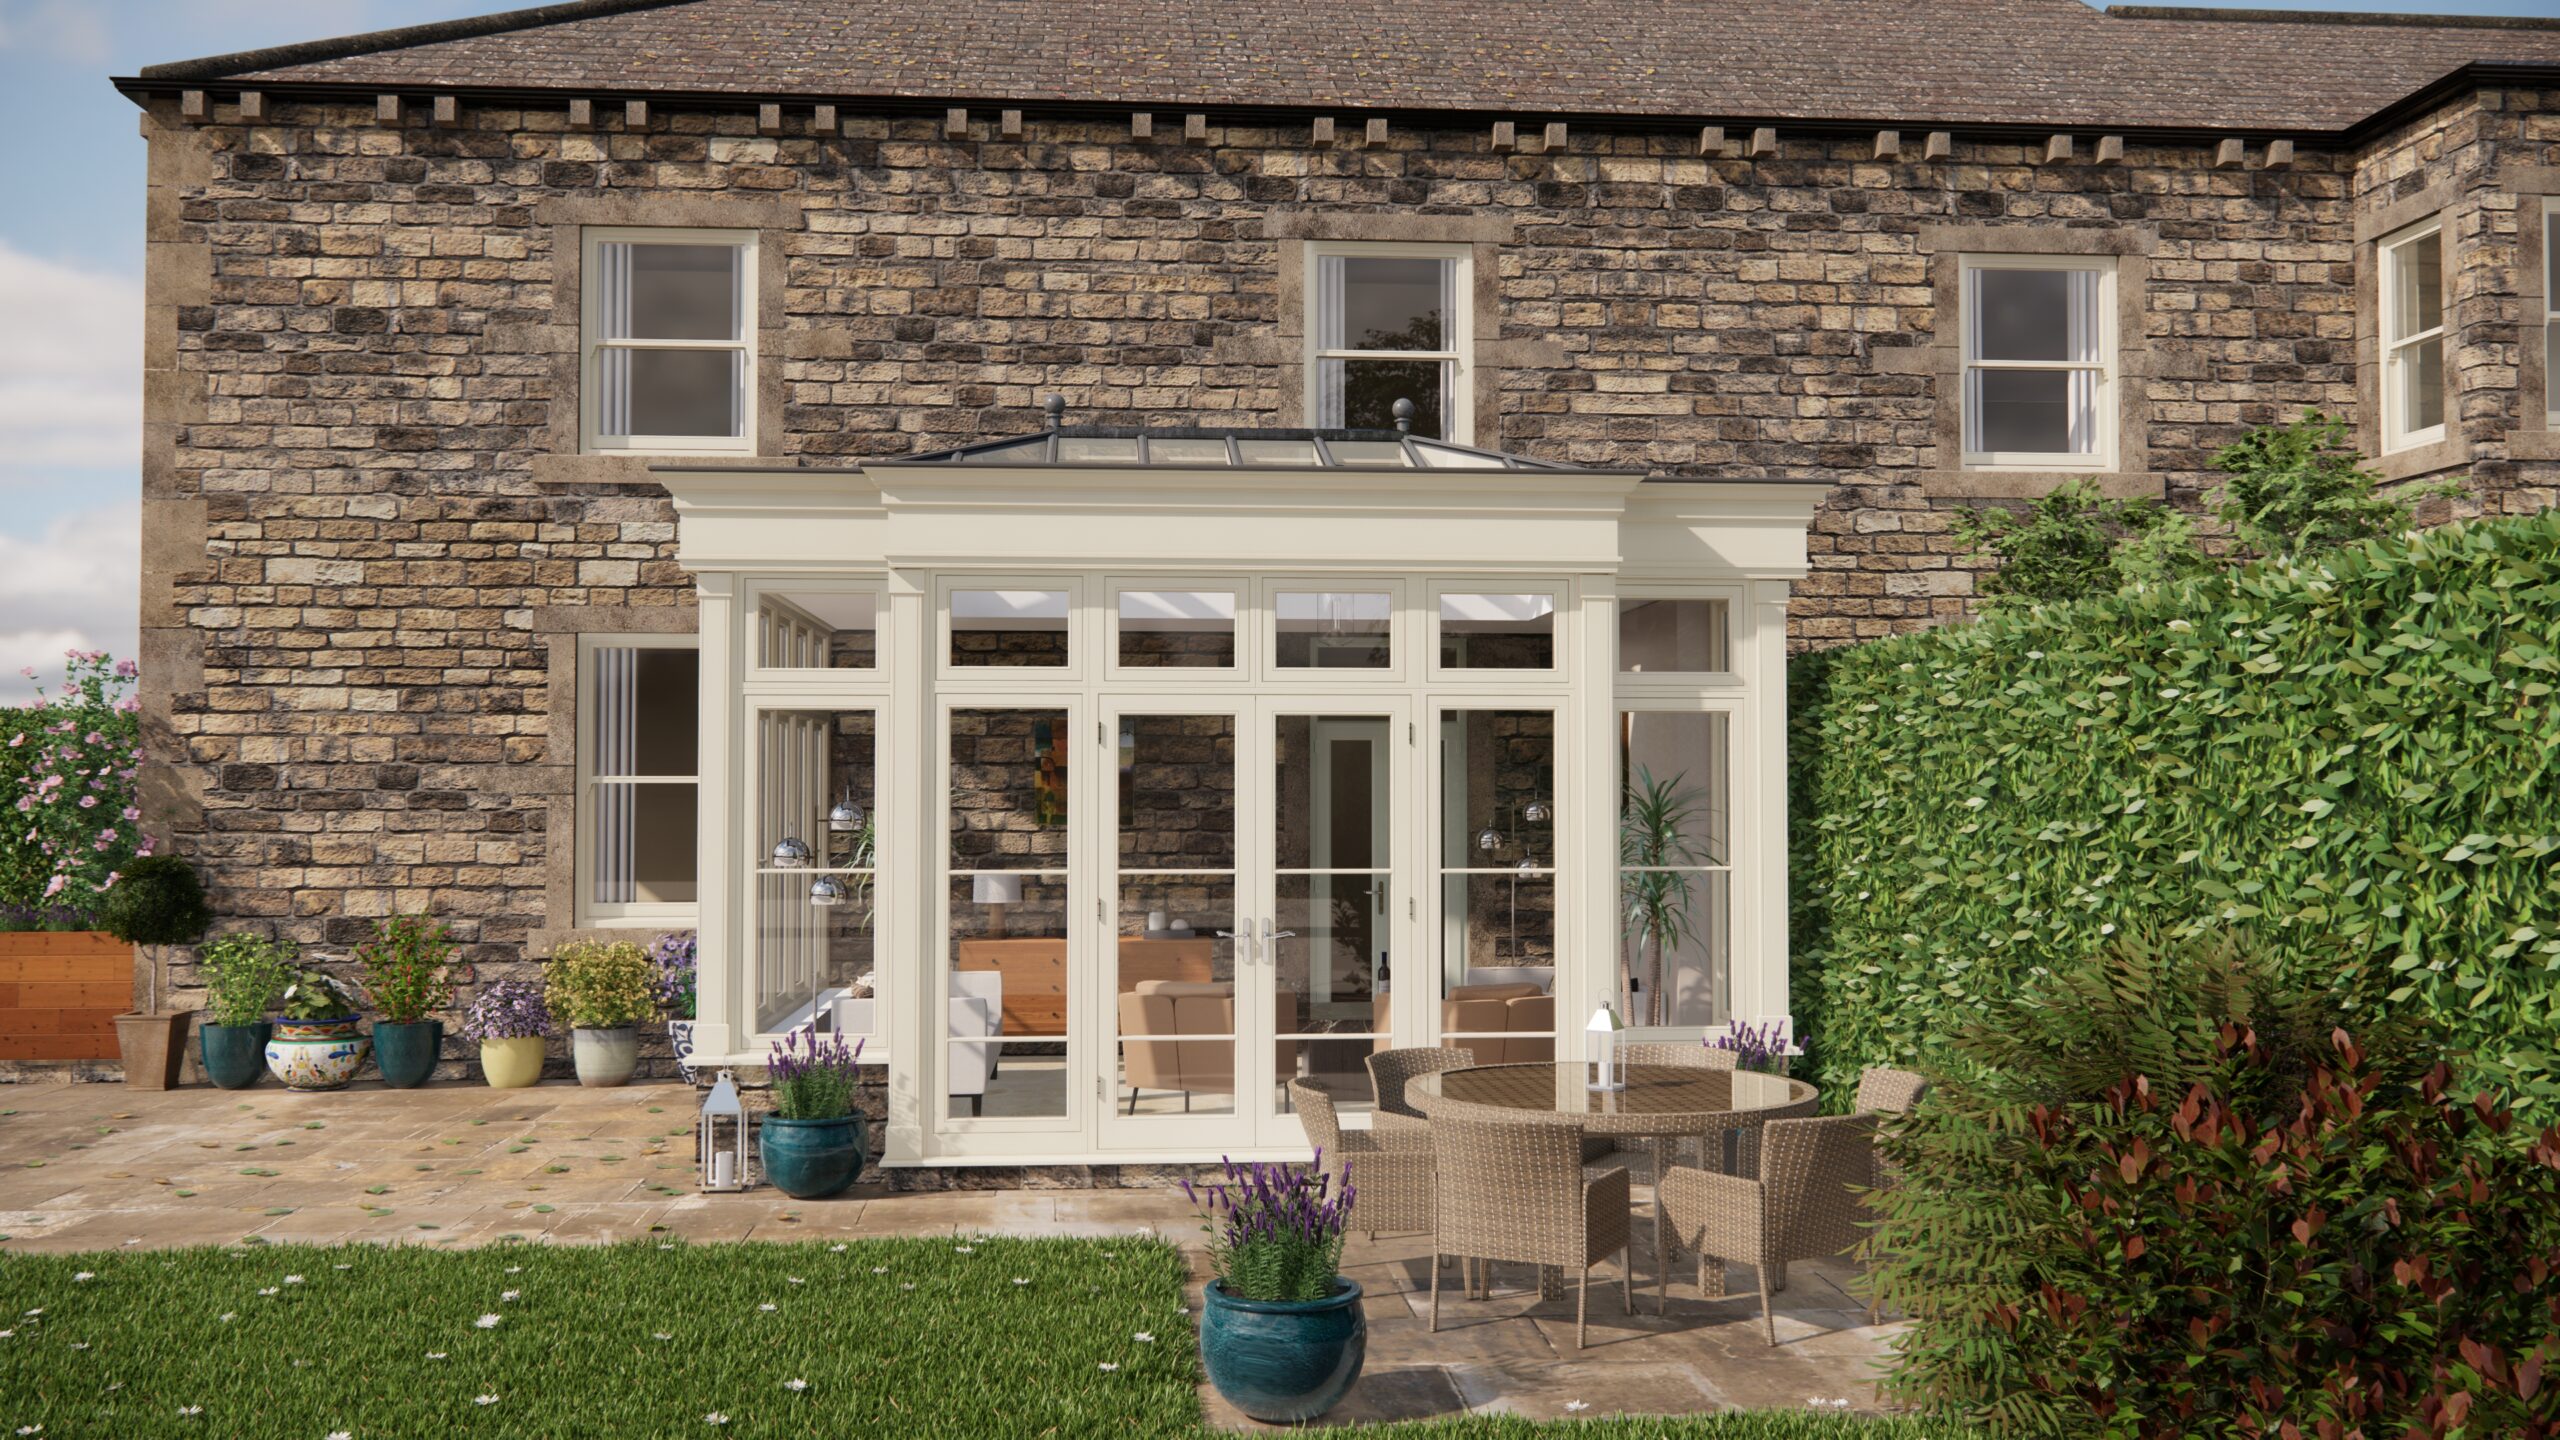
Before I even considered digging, I spent weeks observing my garden, imagining the stream’s path, considering the sunlight, and soil type. I even had to consider how a beautiful orangery could become a focal point for the garden, as this would create an aesthetic backdrop that was sure to captivate and be a talking point amongst visitors. Careful planning is paramount! I sketched various layouts, factoring in the natural slope of the land to aid water flow. I decided on a relatively short stream, culminating in a small pond at the lower end. Critically, I marked the proposed route with string and spray paint. This allowed me to visualise the final product and make necessary adjustments before committing to any serious digging. Don’t underestimate this stage; proper planning is key.
Excavation: Getting My Hands Dirty
With my design finalised, it was time for the physical labour. Excavation is undoubtedly the most strenuous part. I used a spade and wheelbarrow to carefully remove the topsoil, setting it aside for later use around the stream banks. The depth varied, deepest at the pond end and gradually shallowing towards the source. I ensured a consistent slope to facilitate smooth water flow. Be sure to compact the soil thoroughly to provide a stable base for the liner.
Liner Selection: Keeping the Water Where It Belongs
A high-quality liner is essential for preventing water loss. I opted for a thick butyl rubber liner. It’s durable, flexible, and resistant to punctures. Importantly, I chose a liner that was considerably larger than the excavated area, allowing for ample overlap around the edges. To protect the liner from sharp stones and roots, I laid down a layer of underlay, essentially an old carpet, before positioning the liner. This added layer of protection has been invaluable.
Rock Placement: Sculpting a Natural Landscape
This is where the magic happens! Rock placement is an art. I collected a variety of rocks, both large and small, from local landscaping suppliers. My goal was to create a natural-looking stream bed with varying levels and textures. Larger rocks formed waterfalls and cascades, while smaller pebbles lined the stream’s edges. It’s vital to carefully arrange the rocks to direct the water flow, creating interesting sounds and visual effects. Don’t be afraid to experiment! Step back frequently to assess your progress and make adjustments as needed.
Pump Installation: The Heart of the Brook
A submersible pump, placed in the pond, recirculates the water back to the stream’s source. The pump’s flow rate is crucial. Too powerful, and the water will gush; too weak, and the stream will trickle. I chose a pump with an adjustable flow rate, allowing me to fine-tune the water’s speed. The pump was connected to a flexible hose, buried underground, leading to a hidden outlet at the stream’s source. This ensures a continuous, self-contained water cycle.
Planting: Bringing Life to the Water’s Edge
The right plants transform a stream into a thriving ecosystem. I selected moisture-loving plants like hostas, ferns, irises, and primulas for the stream banks. These plants not only add beauty but also help stabilise the soil and provide habitat for wildlife. I carefully arranged the plants to create a natural, cascading effect, softening the edges of the stream and blending it seamlessly into the surrounding garden.
Minimising Water Loss: Staying Sustainable
Evaporation is inevitable, particularly during the warmer months. To minimise water loss, I created deeper sections within the stream to reduce the surface area exposed to the sun. Planting overhanging vegetation also provides shade, further reducing evaporation. Regularly topping up the pond is necessary, but by implementing these strategies, I’ve managed to keep water usage to a minimum.
Following these steps, I was able to create the brook that I had always dreamed of! The sound of running water soothes the mind, offering a welcome respite from the stresses of daily life. My garden has become a haven for wildlife, attracting birds, frogs, and insects. A well-designed water feature adds a unique focal point, increasing the garden’s visual appeal and overall value. Remember the design phase to fully encapsulate what the addition to the garden is going to look like, then the laborious excavation, followed by the addition of the liner, the rocks, the pump and finally the planting. The experience has been incredibly rewarding, transforming my garden into a tranquil and captivating space. It’s a project I wholeheartedly recommend to any garden enthusiast.